Homemade Yogurt: You Might Be Doing it Wrong
Posted on Thursday, August 20, 2015 | By Nicole Easterday |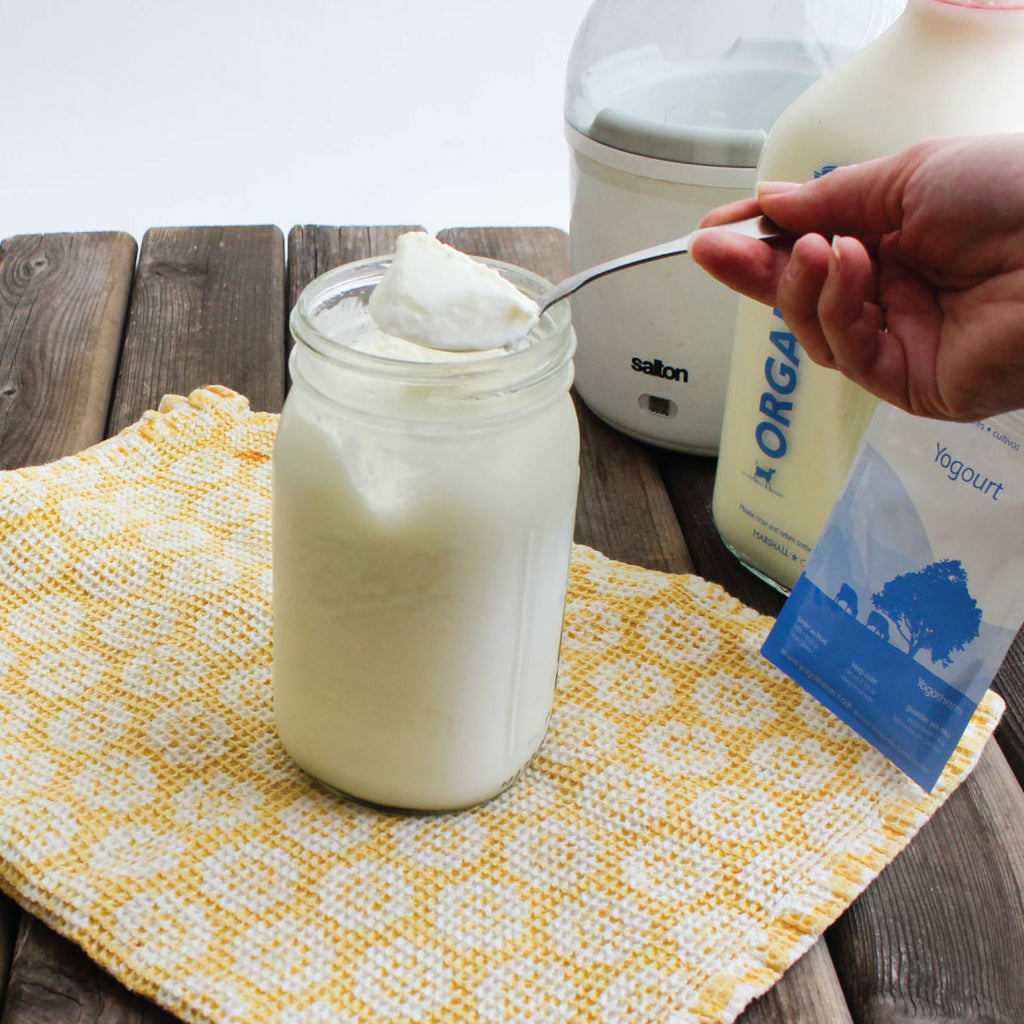
One of the best birthday gifts I ever received arrived in a tiny plastic container, unlabeled and mysterious. A friend of mine had been a chef at Google when the infamous food scientist Harold McGee visited and brought along a batch of his homemade yogurt to share with the chefs. I was lucky enough to receive a little bit of this starter and Harold’s special science-based instructions.
After ignoring it in the fridge for a few weeks (why is it that new things always seem so intimidating, not matter how easy you’d heard they’ve be?), I finally pulled out the starter and instructions and got to it. It resulted in the best yogurt I’d ever had.
I’ve been making yogurt several times a month now for several years and have learned a lot. The most important thing I’ve learned is how superior Harold’s instructions are to those you read almost anywhere else. The starter culture you use will affect the flavor and texture to an extent, but the way you treat the milk seems to make the most difference. With that in mind, I felt compelled to share the instructions handed by by Harold McGee (original copy long lost and committed to likely imperfect memory).
This is the method I use to make creamy, thick yogurt, including the little-known secret for the best texture:
- Heat cow’s milk to 180° Fahrenheit.
- Hold the milk at 180° for 30 minutes. I do this by keeping it in an oven pre-heated to 180° F. This is the most important step in creating the creamy consistency and texture most people want out of yogurt. It’s also the trick no one seems to know about!
- Skim the ‘skin’ from the surface of the milk. Technically, this step is optional but some people dislike the texture it creates.

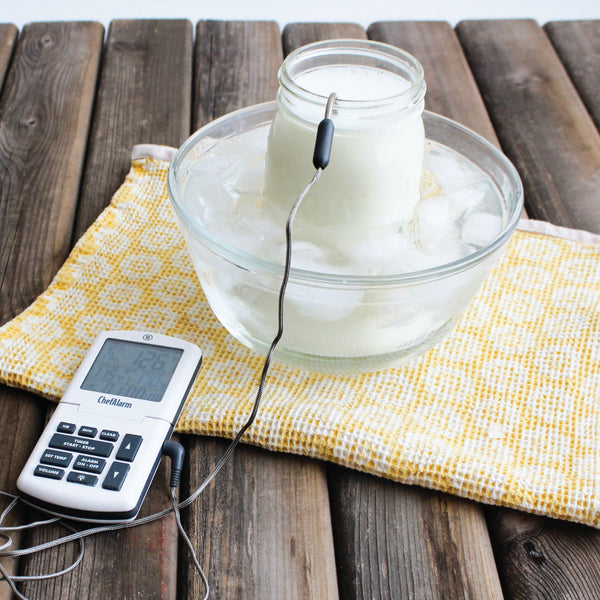
- Quickly cool the milk to 115°F. I use an ice bath and stir until the temperature comes down.
- Stir in your starter culture. Either use the recommended amount on the culture package you purchased or use 2 Tbsp live-cultured yogurt like Fage (use a fresh, unopened batch). Our favorite packaged culture is this Bulgarian Yogurt Culture.
- Maintain the temperature between 100° and 115° for 5 to 10 hours. (See notes below about incubation tricks.)
-
You can test the yogurt at any point by tasting it. It should have the consistency of panna cotta, showing a nice separation when you dip into it with a spoon.
- Refrigerate.


The recipe above will give a nice, thick consistency (thanks to holding at 180° for 30 minutes). However, if you like your yogurt even thicker, you can strain it further to make it even thicker like the class Greek yogurt.
To make Greek-style yogurt:
- Follow the instructions above.
- Carefully scoop the set yogurt into a colander lined with butter muslin, trying not to break up the curds much.
- Allow the curds to drain over a dish until they reach the consistency you prefer
- The watery liquid that drains out is whey, for which there are many uses. Check some out here.
The beauty of homemade yogurt is that it is its own starter culture. As soon as the yogurt is done you can use set aside a couple of spoonfuls to make another batch. I prefer taking them out of the fresh jar immediately and storing them in a separate container marked “Yogurt Starter – Don’t Eat!”. If you don’t remove them from the start, you run the risk of the yogurt batch being contaminated from people dipping their spoons in over time.
Tips for incubating your homemade yogurt:
There are many different methods for incubating cultured milk and none is wrong as long as it works for you. The goal is to keep a constant temperature between 110°-115°F. Below are some techniques I’ve heard people try over the years with mixed results. I've listed them in order of most reliable.
- Yogurt Making Appliance - I hate to say it but this is one of those things that if you're going to make yogurt fairly regularly you should just buy. I use a very inexpensive one that I've been incredibly happy with over the years. Below are some that look like very good options based on reviews and materials. I have not tried any of them personally and may receive commission if you purchase something from this link (a girl's gotta pay the bills)
- Euro Cuisine Yogurt Maker - This simple machine holds 7 class containers allowing you to make individual cups (with different flavors/techniques if you wish)! You can also use a large glass bowl (not included) inside to make one large batch if you prefer. It's pretty basic, plastic-free and really all you need.
- Cuisinart Automatic Yogurt-Maker with Automatic Cooling - I have to admit that the busy mom in me covets this appliance kind of a lot. It actually cools after maintaining temperature for your selected period of time. This would open up the freedom to not schedule your yogurt-making around your schedule. Fancy. I do wish the inner container wasn't plastic.
-
Crock Pot Method – In this method, people use a crockpot to heat the milk to 180°F and then turn it off and allow the milk to cool for a couple of hours until it reaches 115°F. They then add the culture and keep the crockpot covered with the lid for 5 to 10 hours.
- Pros: You may already have a crockpot, making this an accessible activity to try
- Cons: It could take up to three hours for the milk to cool from 180° to 115° during which time you’re waiting around, checking the temperature periodically and risking contamination of your milk. This is definitely not the safest method
- Cooler Incubator - Follow the instructions above for heating and cooling the milk then adding cultures. To incubate your cultured milk, first fill the inside of a cooler with hot water to warm it up. Remove the water, reserving some. Check the temperature of the reserved water and aim for 115°F. Pour it into several containers to fill up your cooler. Place the 115°F cultured milk in sealed container in the cooler next to the other hot water containers and let it rest unopened for 6-8 hours until it reaches your preferred acidity.
- Pros: You probably already have a cooler, making this an accessible activity to try. You can incubate a large amount of yogurt if you like and this is a very effective incubator.
- Cons: The biggest drawback is probably space, but that's not a huge deal.
-
Oven Light Method – If you have neither a crockpot nor a yogurt-maker, the oven might be worth a try. Follow the basic instructions above and after cooling the milk and adding the culture place it in the oven with just the light on for 5 to 10 hours.
- Pros: You probably already have an oven, making this an accessible activity to try
- Cons: Because you don’t know what temperature the oven light is keeping your yogurt at, you’ll need to check every now and again. I’ve found this method to produce fairly inconsistent results.
- The Cuddle Method – We have it on good authority that there may be people out there making yogurt using only their body heat. They call it ‘cuddle yogurt’ because after you inoculate the yogurt, you take the jar to bed with you and your ‘snuggle buddy’ and keep that baby warm all night long. As much as I like the idea, the scientist in me is skeptical of this method, knowing that yogurt wants to culture between 100-115° and the human body is only 98.6°. Perhaps the presence of the ‘cuddle buddy’ is the secret to getting the temperature higher, if you know what I mean. Someone on our team tried it and got cultured milk (probably just from the mesophilic bacteria in the mix) but nothing she would exactly call yogurt. That said, if you were already looking for a nice hot water bottle and a good excuse to, uh…cuddle, why not give it a try? We’ve decided more research is needed and we’re willing to give it a shot so stay tuned. Please report back if you try it!
- Dedicated Yogurt Maker – As much as I dislike dedicated cabinet space in my tiny kitchen to single-use kitchen appliances, this is hands-down the best way to produce consistent yogurt time after time. We recommend using one with glass jars (rather than plastic). If you really can’t stand the idea of a single-use device, it might be worth your effort to check out the InstaPot 7-in-1 pressure cooker/yogurt maker that everyone seems to be raving about. We haven’t tried it yet but I’m frequently tempted.
Have you made yogurt at home? What incubation methods do you use? What do you do to get the best texture and consistency?