Tracking the day-by-day progress of your homemade brie
Posted on Monday, August 22, 2016 | By Nicole Easterday |Welcome to our notes and photos for tracking the brie you made in your FARMcurious "Crafting Brie and Camembert at Home" class. Follow along and watch our delicate curds transform into gooey deliciousness.
Aging the Brie/Camembert
Day 2
Here is my Brie on Day 2. This morning when I woke up I salted the top of the Brie with a pinch of non-iodized salt. I set my alarm for an hour to remember to flip it and salt the other side. Then I left the house for two hours. Oops! Flipped it and salted the other side when I got home. No big deal. At this point the curds were still in the form.


Day 3
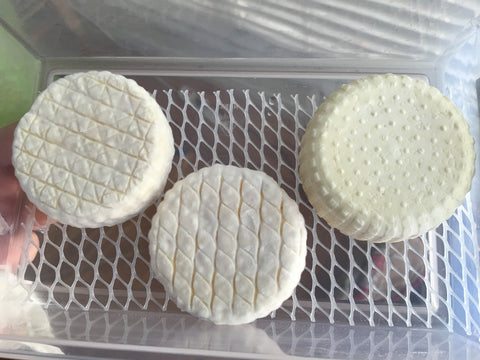
Every day for the first week I'll be removing the brie from its container to flip it and to wipe the condensation from the sides of the container with a clean towel.
Here is the regular refrigerator sample. You see the condensation that needs to be wiped down. A close look at the edge of the cheese doesn't show any fuzz yet.

Here is the wine fridge sample. If you look VERY closely you can actually see the edges are beginning to look just ever so slightly fuzzy (I can see it better in person than in the photo):

Day 9
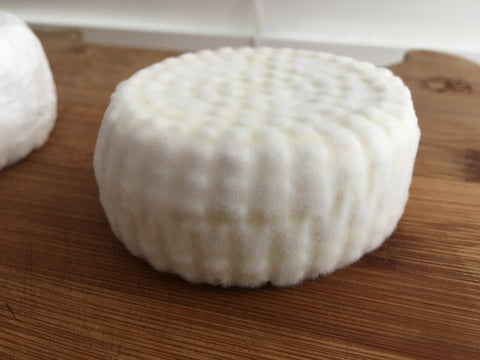
The wine fridge brie is looking beautifully matted in soft, white fuzz and is ready to be wrapped. All I'm looking for here is complete coverage in white mold. In this photo, you can see the impressions my fingers made where I lifted the brie - this shows how deep the mold is.
After wrapping, I'm going to place it back into the wine fridge for further ripening. I'll try to remember to flip it every couple of days. It should be ready to eat in about a week when it feels soft like the web between my thumb and forefinger when I squeeze the center.
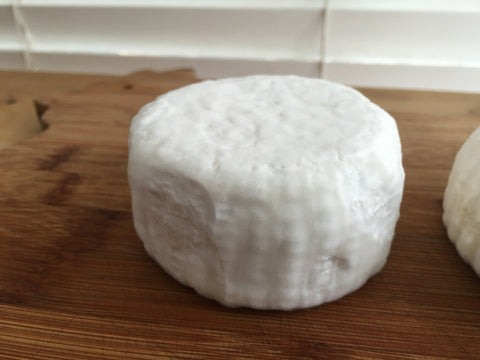
The regular fridge brie has developed visible mold but it's nowhere as thick and I'd like to see it develop more before I wrap it. Several more days ought to do it. Here's what it looks like now.
Day 14
Finally, the brie stored in the regular fridge is covered in fuzz and ready to be wrapped and stored in the regular fridge for another week or two until it feels soft like the web between my thumb and forefinger when I squeeze the center. If you like your cheese a little less ripe, you can open it sooner. Check it out:

A couple of notes:
- Once you've cut into the brie, you can no longer age it so try to be patient!
- If the brie is soft enough to be done but you're not quite ready to eat it, store it wrapped in the coldest part of your regular refrigerator. Eat is as soon as possible once it's ripe since this is a living food and will continue to soften and ripen.
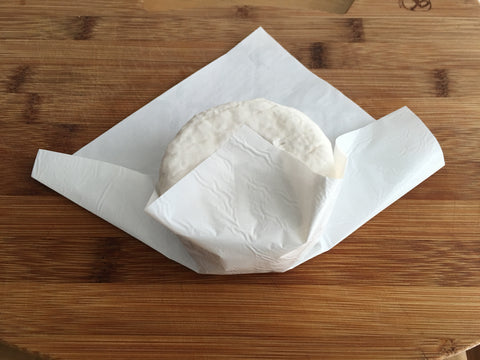
Wrapping the Brie/Camembert
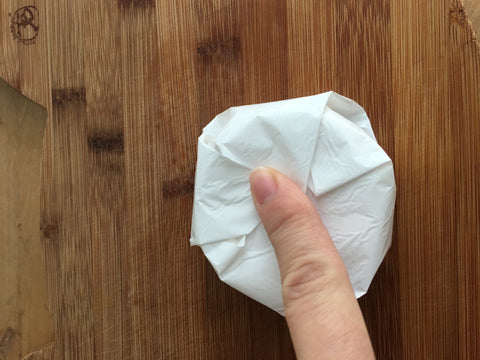
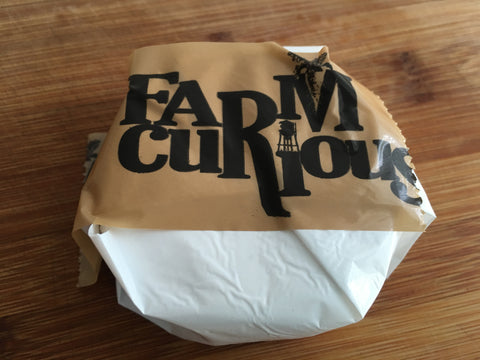
If your brie is now covered in mold, it's time to wrap it in the wrapper you got in class. Here's a pictorial how-to:


A note on my favorite aging container. I've been using Sterilite containers for years and it's the best thing I've found for aging these tiny wheels. There are two sizes that work well and I use them both. The large clip box fits a one gallon batch of cheese (6-7 wheels) perfectly. If you have limited fridge space, two small clip boxes will hold three mini wheels in each one and may fit a little better in your space.
I don't sell these boxes and don't have any desire to. I present to you an Amazon affiliate link; if you purchase something after clicking this link, I may receive a small commission.
Sterilite 19638606 Large Clip Box, Clear with Blue Aquarium Latches, 6-Pack
As an Amazon Associate I earn from qualifying purchases.
How does your brie look today? What are you aging it in and at what temperature?